🗺️ Area Preview & Adjustment
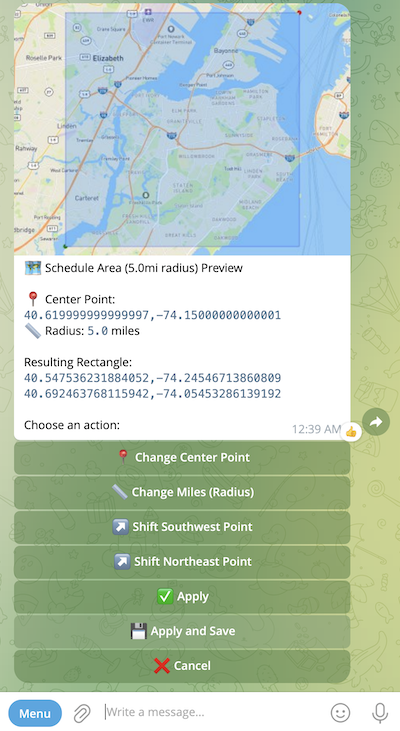
After setting coordinates or location+radius, you'll see a Schedule Area Preview screen before the area is applied.

The preview shows area boundaries and resulting coordinates, as well as provides the ability to adjust them.
-
For radius-based areas, it allows you to set a new center point and adjust the radius distance
-
For coordinates-based areas, it allows you to change one or both of the coordinates
-
For both area types, it allows you to move boundaries by the specified amount of miles
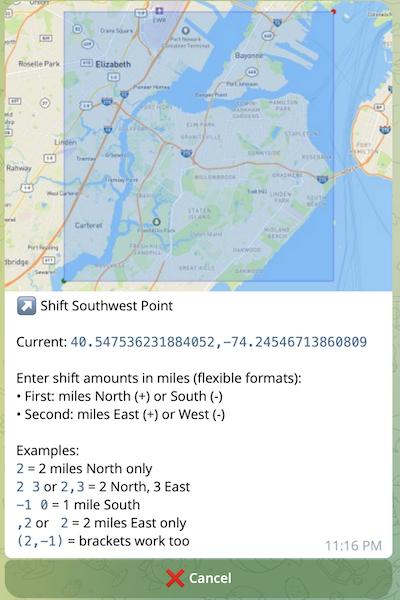
To move the left and lower boundaries, use the Shift Southwest Point button, which will open the Shift Southwest Point dialog:

The bot expects to receive two numbers. The first number, if positive, will move the bottom boundary upward, and if negative, downward by the specified amount of miles. The second number, if positive, will move the left boundary to the right, and if negative, to the left by the specified amount of miles. For example, the input below will move the bottom boundary up by 5 miles:
-5, 0The Shift Northeast Point button works in a similar way. The first number moves the upper boundary: if negative, downward; if positive, upward. The second number moves the right boundary: if negative, to the left; if positive, to the right.
After the boundary/boundaries are moved, a new preview dialog with the updated map area and coordinates will be shown.
Once you're satisfied with the preview, you have two options:
-
✅ Apply - Applies the area as your active monitoring area. Takes effect immediately.
-
💾 Apply and Save
-
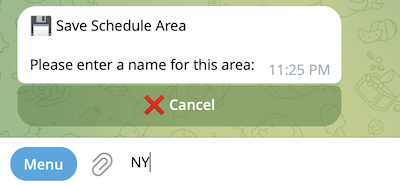
Prompts you to give it a name and saves it to your saved areas list for future use

The bot expects you to enter a name, e.g., NY
-
Applies the area as your active monitoring area
-